The ESXi 4.x installer utilizes the default blocksize of 1MB when creating VMFS volumes, allowing for storage of files 256GB and under. This default VMFS Datastore cannot be easily reformatted with a higher blocksize as it contains the Service Console VMDK file.
But to store files greather than 256 GB (ex. VMDK), you have to use a blocksize greather than 1 MB on your partition. If you use your system-partition for saving VMDK-Files greather than 256 GB, you have to change the blocksize of your system-partition. Unfortunately VMware doesn’t give you the possibilty to do this during the installation. So you have to do this with a trick after the installation:
Install the VMware ESXi 4.x host as always. After the installation follow this steps:
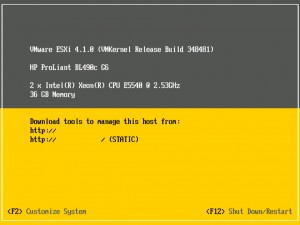
Press the Funktion-Key F2
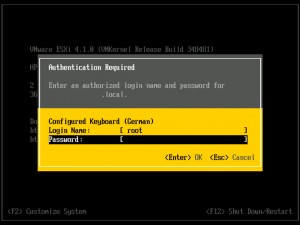
Logon with your root-account.
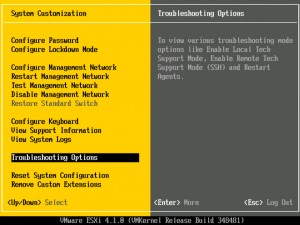
Select Troubleshooting Options.
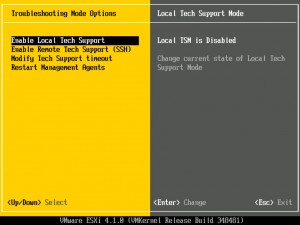
Select Enable Local Tech Support. After you enabled the local Tech Support, press two times the Key ESC, to exit to the Default Screen.
Press the Key-Combination ALT+F1 to enter the local Tech Support. You have to logon again on the console screen.
After you loged in, run the follow command:
esxcfg-scsidevs –m
You will receive the informations about all installed Drives:
Now run this command:
vmkfstools –C vmfs3 –b <BLOCKSIZE> datastore <DRIVE-ID>
For <BLOCKSIZE> use the value from the next table. For <DRIVE-ID> use the value received from the last command (marked yellow in example):
| block size | maximum file-size on vmfs3 |
|---|---|
| 1 MB | 256 GB |
| 2 MB | 512 GB |
| 4 MB | 1 TB |
| 8 MB | 2 TB |
The process did run for around 20 seconds on my 1 TB disk.
After succesfull running, press the Key-combination ALT+F2, to exit to the default window.
Please disable now the Local Tech Support and make a reboot.


